
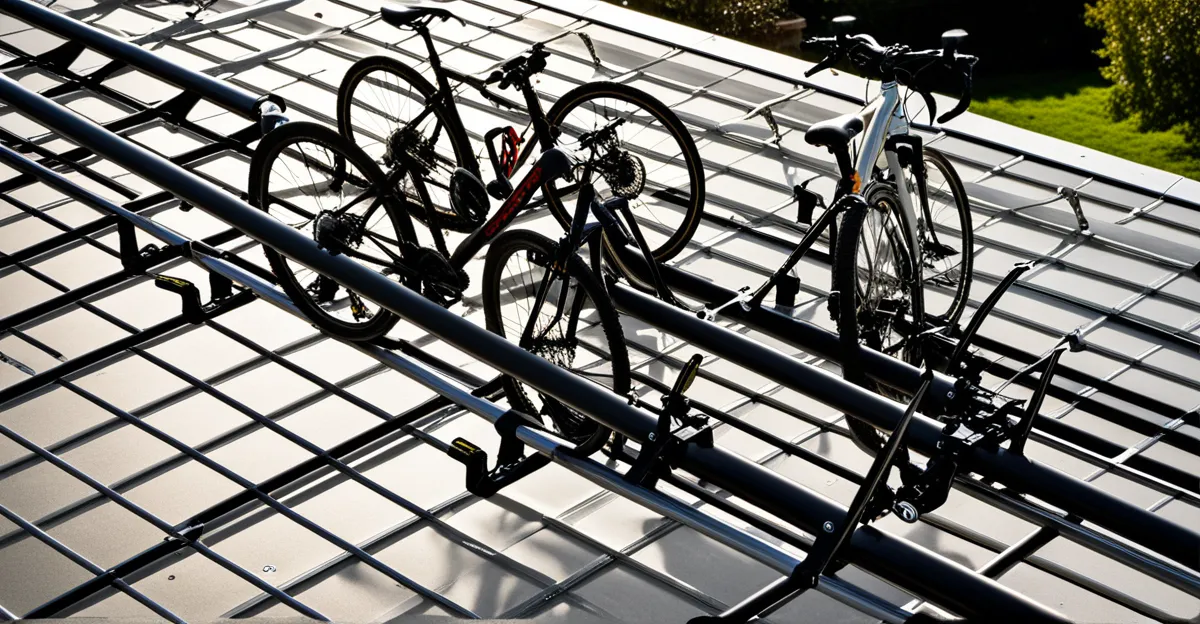
Step-by-Step Guide to Installing Your Roof-Mounted Bike Rack
Make your ride-ready journey simple and secure.
To install a roof-mounted bike rack effectively, start by preparing both your vehicle and the rack. Ensure your vehicle’s roof is clean and free of debris that might scratch its surface. Review your bike rack installation steps carefully, confirming that you have all parts and tools at hand.
Have you seen this : The Definitive Guide: Essential Tips for Optimal Turbocharger System Maintenance in Your Vehicle
Next, attach and position the rack securely. Most universal bike rack setups come with adjustable clamps or crossbars. Position them according to your vehicle’s roof dimensions, ensuring they align properly with the roof’s factory rails or the designated attachment points. Tighten the hardware gradually, avoiding over-tightening, which could damage components.
After the rack is fixed, verify its stability before loading bikes. Give the rack a firm shake to detect any looseness. A properly installed roof rack should not move or rattle under pressure. Finally, double-check that all clamps and mounting points are secure. These steps create a reliable foundation, safeguarding your bike and vehicle during transit.
Topic to read : Essential Tips for Protecting Your Electronics When Transporting Vehicles
Essential Safety Tips for Roof-Mounted Bike Rack Installation
Safeguard your ride and vehicle with expert guidance.
Understanding roof bike rack safety starts with recognizing common hazards during installation. These include the risk of inadequate attachment causing bike loss, damage from over-tightened clamps, and potential injury while lifting heavy racks. To ensure a safe bike rack installation, always follow manufacturer guidelines precisely and avoid shortcuts that compromise stability.
Best practices for securing bikes and racks emphasize using all included hardware and verifying that the universal bike rack setup fits your vehicle’s roof profile accurately. Double-check locking mechanisms and test the rack’s firmness by gently shaking it before placing bikes on top. Securing bikes with additional straps or locks enhances safety during transport and reduces rattling.
Different vehicle types require tailored precautions. For example, cars without factory roof rails often need additional mounting adapters to maintain roof bike rack safety. SUVs or vehicles with sunroofs demand careful placement to prevent obstructing or damaging delicate parts. Always consult your vehicle manual alongside bike rack instructions, ensuring compatibility and adding an extra layer of risk prevention tips into your installation routine.
Tools and Materials Needed for a Secure Installation
Equip yourself for a smooth and damage-free setup.
To install a roof-mounted bike rack correctly, having the right tools for bike rack installation is essential. Most installation kits include basic items such as Allen wrenches, screwdrivers, and torque keys. These help tighten bolts evenly, preventing damage caused by over-tightening. Depending on your universal bike rack setup, you may need adjustable wrenches or pliers for clamps or straps.
Protective accessories are crucial to safeguard your vehicle’s finish. Use rubber pads or foam protectors between the rack clamps and your car’s roof or rails. These required materials prevent scratches and dents during attachment and transit, ensuring the vehicle remains pristine.
Organizing your workspace reduces installation errors and speeds up the process. Lay out every component from the installation kit on a clean, flat surface and check them against the instruction list. Clear space around your vehicle to move and access all mounting points comfortably. This preparation supports a precise and efficient bike rack installation, reducing risk of errors or damage.
Installation Checklist for Roof-Mounted Bike Racks
Check all essentials before hitting the road.
A thorough bike rack installation checklist helps guarantee safety and efficiency when you install roof-mounted bike racks. Begin with a pre-installation checklist to ensure all parts and components are accounted for, including clamps, bolts, and locking mechanisms. Missing or incorrect pieces can compromise the rack’s reliability.
Next, conduct a detailed inspection of your universal bike rack setup after assembly. Check that all screws and clamps are firmly tightened without overdoing it, avoiding damage to the vehicle or rack. Verify correct alignment so the rack sits flush with the roof’s rails or attachment points. Uneven fitting often leads to instability and excessive noise during transit.
Before every trip, perform routine roof rack readiness checks. Look for looseness by gently shaking the rack and listening for unusual rattling. Confirm that straps and locks securing your bikes are intact and taut. Address any signs of wear or looseness immediately to maintain safety.
Using a consistent checklist approach simplifies the installation process and helps prevent errors, promoting a secure and worry-free bike transport experience.
Step-by-Step Guide to Installing Your Roof-Mounted Bike Rack
Simplify your setup with precise actions.
To install a roof-mounted bike rack successfully, start by thoroughly preparing both your vehicle and the bike rack. Clean the roof surface carefully to avoid scratches, and lay out all components from your universal bike rack setup. This organization helps avoid missing parts during bike rack installation steps.
Position the rack on your vehicle’s rails or attachment points, aligning it with the roof profile. Secure the clamps or crossbars gradually, ensuring they fit snugly without deforming any materials. Tightening should be firm yet controlled to preserve both rack integrity and vehicle finish.
Before placing your bikes, test stability by giving the mount a firm shake. A properly installed system will feel solid, showing no signs of looseness or rattling. Verifying this stability at every use minimizes risk during transport. These deliberate steps ensure a lasting, secure attachment for your bike rack, combining functionality with care.
Step-by-Step Guide to Installing Your Roof-Mounted Bike Rack
Begin each step with careful attention to detail.
To install roof-mounted bike rack systems correctly, start by cleaning your vehicle’s roof thoroughly. Dirt or grit trapped beneath mounting points can cause scratches or uneven pressure. Lay out all components from your universal bike rack setup, verifying each piece matches the instruction manual to avoid missing hardware.
Attach the rack by positioning clamps or crossbars onto factory rails or designated mounting areas. Ensure alignment is exact; improper alignment can cause instability or damage. Gradually tighten bolts and clamps to secure the rack firmly without over-tightening, which could warp components or harm your vehicle’s finish.
Before loading bikes, verify stability by shaking the rack gently. A stable, immobile rack is crucial for safe travel. An unstable rack risks bike loss or damage. If any looseness occurs, revisit bike rack installation steps to tighten hardware or reposition attachments. Proper preparation, precise positioning, and thorough stability checks form the backbone of a secure and effective roof-mounted bike rack installation.
Step-by-Step Guide to Installing Your Roof-Mounted Bike Rack
Careful preparation is the foundation to successfully install a roof-mounted bike rack. Begin by cleaning your vehicle’s roof thoroughly; any dirt or grit can lead to scratches or uneven pressure when mounting. Lay out every component of your universal bike rack setup to ensure you have all necessary parts before starting. Missing hardware can complicate or compromise installation.
When attaching and positioning the rack, align clamps or crossbars precisely with your vehicle’s roof rails or designated points. Improper alignment might cause instability or damage during transit. Securely tighten bolts and clamps incrementally—firm but controlled tension prevents over-tightening, which risks warping the rack or harming your vehicle’s finish.
Before loading your bikes, verify the rack’s stability by gently shaking it. A properly installed system won’t move or rattle. If you detect looseness, revisit your bike rack installation steps to retighten or reposition attachments as needed. This verification is critical, ensuring your bike remains secure throughout your journey while protecting both your vehicle and the rack itself.